

Update Highlighter
How to do it in Highlighter, one step at a time.
Last updated 8 Oct 2026
For later. These steps do not count in the setup progress.
TAF sometimes pushes a new version of Highlighter into every org. Some orgs are on an exclusion list and do not get these pushes. You can also install the newest version yourself at any time, from the install links on the change log. The AppExchange listing no longer updates an installed app.
Update before you report a bug
TAF works on bugs in the newest version only. Check your version before you open a case, and update if it is old.
Check the version you have.
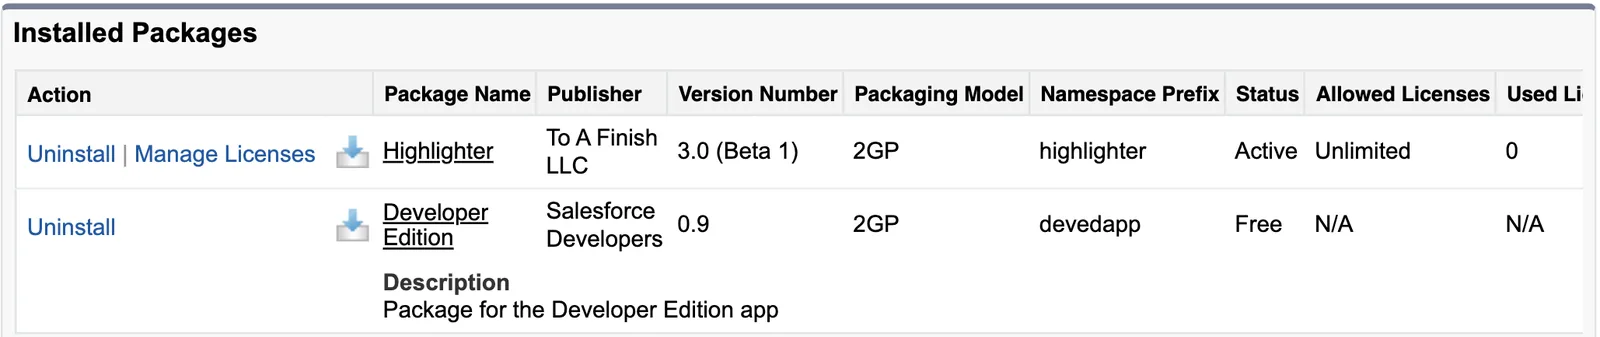
Open Setup. In the Quick Find box, type Installed Packages. Find Highlighter and read the Version Number column.
Open the Highlighter change log.
The newest version and its install links sit at the top of the Highlighter change log. If your version matches the newest one, stop here.
Update a sandbox first.
Click Install in a sandbox. Sign in to your sandbox and follow the install screens. If a screen asks who to install for, pick Install for All Users.
Salesforce installs the newer version over the one you have. Your actions and settings stay in place.
Check your record pages in the sandbox.
Open a few records that carry highlights. Make sure the highlights still show.
Update production.
Go back to the change log and click Install in production. Sign in to production and follow the same screens.
Check the version again.
Open Installed Packages again. The Version Number now matches the top of the change log.
You cannot go back to an older version
To go back, you must uninstall Highlighter and set it up again.
Applies to
Highlighter 3.0.x. These steps come from the tested Highlighter implementation guide, where they sit with the steps before and after them.
Was this helpful?
Thank you. It helps us know which articles work.
Related
Still stuck?
Open a case and paste the exact error text. A person reads every case.