

Connect Address Verification to Smarty
How to do it in Address Verification, one step at a time.
Last updated 11 Oct 2026
Address Verification needs the keys of your Smarty account. Smarty gives each account two values that work like a user name and a password: the Auth ID and the Auth Token.
- If you bought your Smarty plan through TAF, TAF sends you the keys and the name of your license.
- If you use your own Smarty account, copy the Auth ID and the Auth Token of a secret key from your Smarty account.
Keep the keys private. Anyone who has them can spend the lookups of your plan.
Open the Address Verification setup page.
Open Setup. In the Quick Find box, type Installed Packages. Click Installed Packages. Click Configure beside √ Address Verification.
The setup page can take about 10 seconds to load. It opens on the Authentication tab. The other tabs are Data Mapping, Options, Automation and More.... You need the permission set Address Verification (Admin) for this page.
Open Address Verification Default.
Under Authentication Configuration, click Address Verification Default to open it, if it is closed.
Paste the Auth ID into Auth-Id (Default). Paste the Auth Token into Auth-Token (Default).
Paste each value exactly, with no space before or after it. The boxes show dots in place of the values.
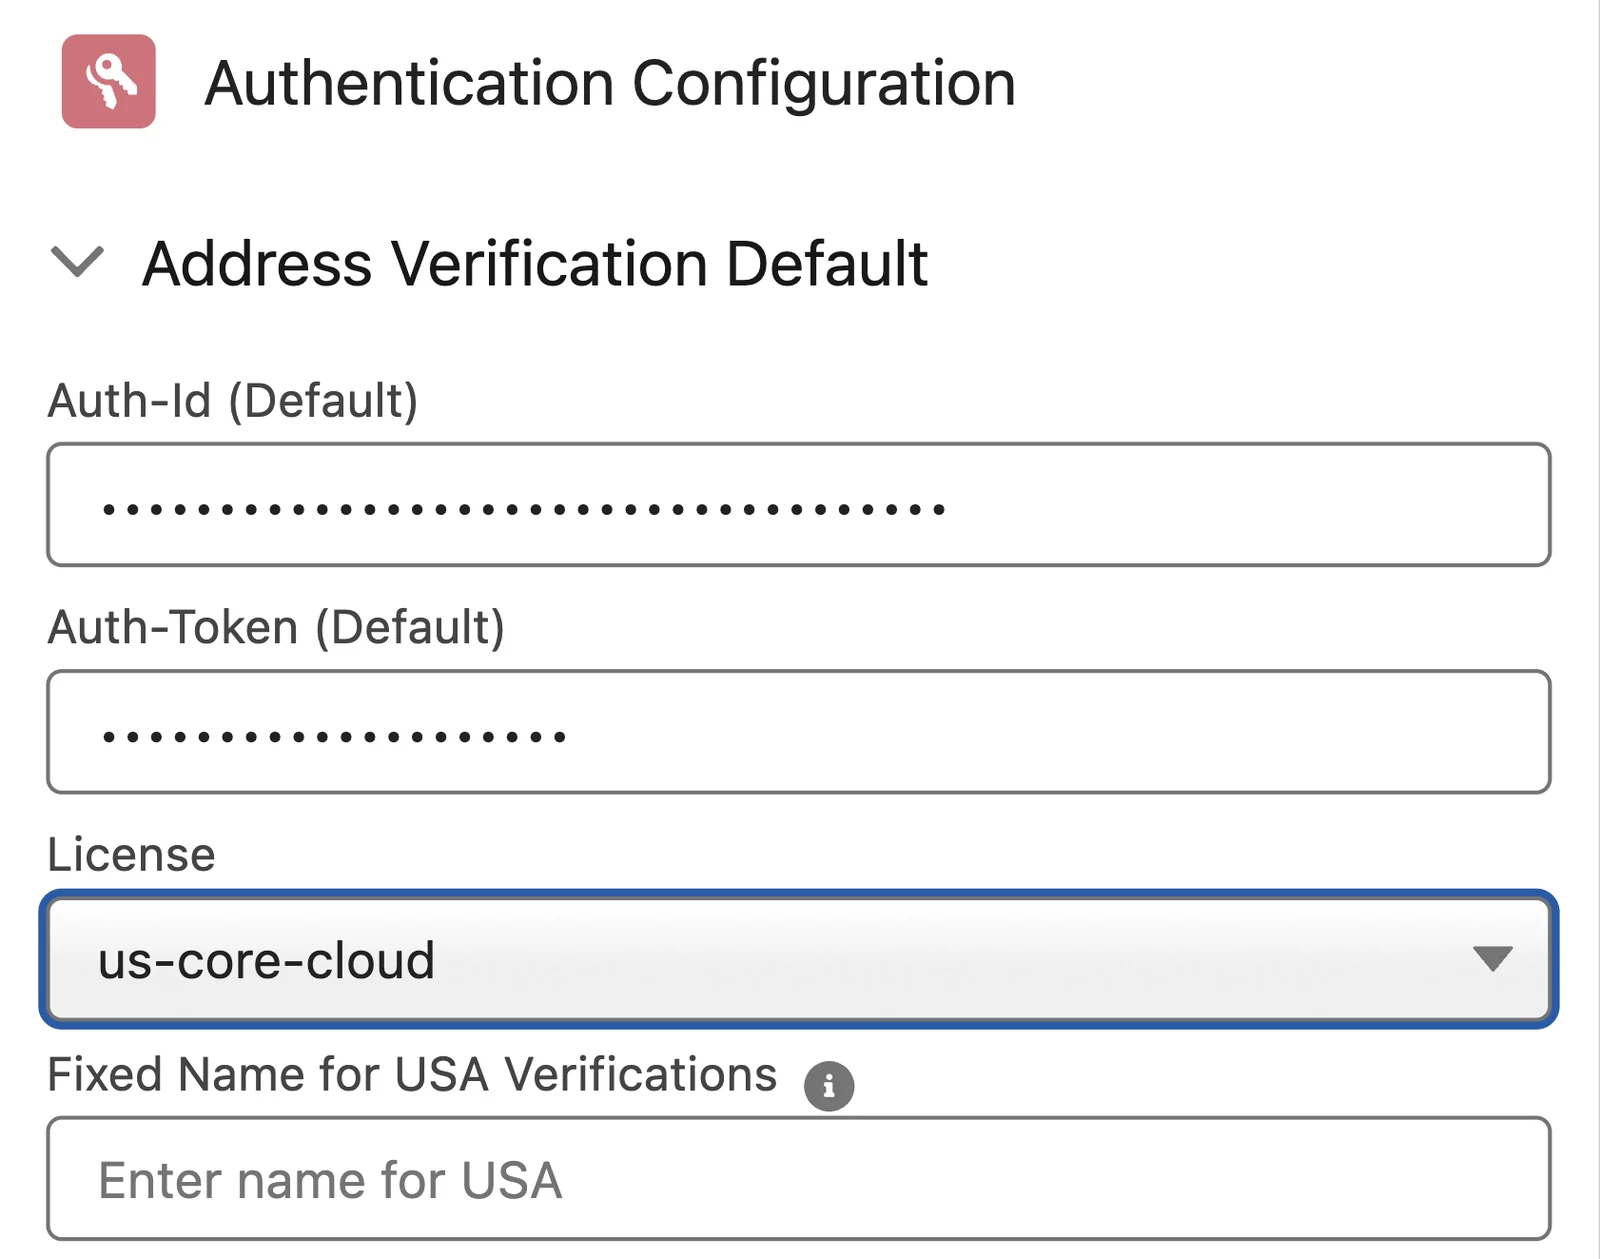
In License, pick the license of your Smarty plan.
TAF names the license when it sends the keys. With your own Smarty account, find your plan on the Subscriptions page of your Smarty account.
The names in the list follow the Smarty plans. For example, the plan US Address Verification, Core Edition with a Cloud License uses
us-core-cloud.Click Save All Settings.
A message reads Successfully saved the setting.
Click Verify.
Verify sits in the Address Verification Default section. It checks the keys with Smarty and uses one lookup. When the keys work, a message reads The Settings are Correct for US Addresses!
If a button floats over Verify, see A button on the setup page covers a field.
Type the address for error emails in Admin Emails. Then click Save All Settings.
Admin Emails sits under Optional Settings, lower on the Authentication tab. Type one email address, or several with commas between them. Address Verification sends its error emails there. When the box is empty, the errors go to the last three admins who logged in.
The other sections on the Authentication tab
Address Verification International, Autocomplete Domestic, Autocomplete International and Enrichment take a second set of keys. Fill them in only when you use another Smarty account for that service. When a section is empty, Address Verification uses the default keys.
An older install
A new install needs no more setup in this chapter. If you updated an older install, check its remote sites. See Address Verification cannot reach Smarty.
Applies to
Address Verification 7.3.x. These steps come from the tested Address Verification implementation guide, where they sit with the steps before and after them.
Was this helpful?
Thank you. It helps us know which articles work.
Related
Still stuck?
Open a case and paste the exact error text. A person reads every case.